
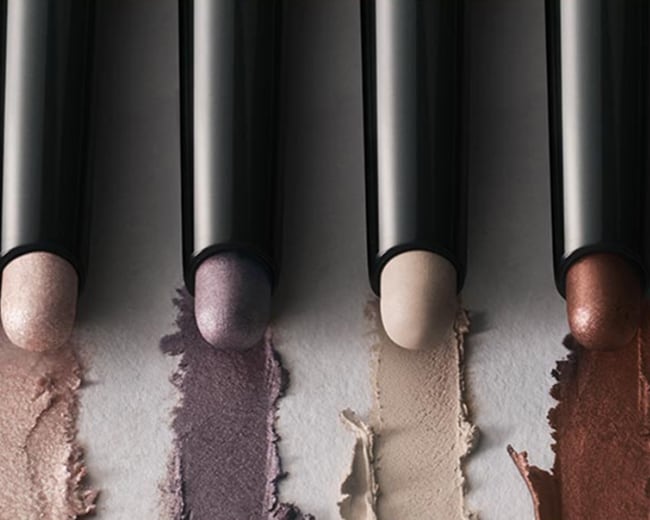
See All Makeup Lessons
Makeup Face Lift

Before
After
Step 1
Layer Skincare
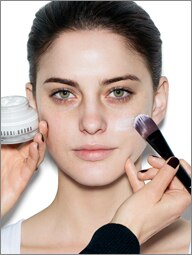
Step 1Layer Skincare
Layer skincare formulas—try a wet, hydrating cream under a rich, more dense balm—to give skin a plumped up, cushiony look.
Step 2
Brighten
Step 2Brighten
For an instant lift, apply a pink or peach-toned corrector, followed by a yellow-toned concealer under the eyes.
Step 3
Go Creamy
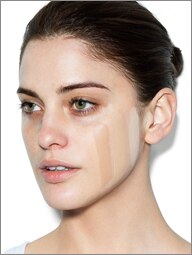
Step 3Go Creamy
Creamy, moisture-rich foundations and tinted moisturizing balms impart vibrancy without settling into creases. (Avoid oil-free and matte foundations because they can accentuate lines and wrinkles.)
Step 4
Glow
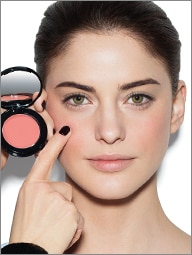
Step 4Glow
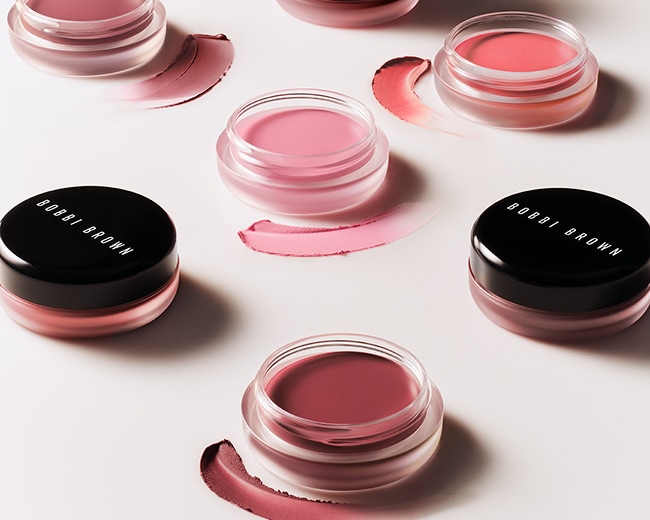
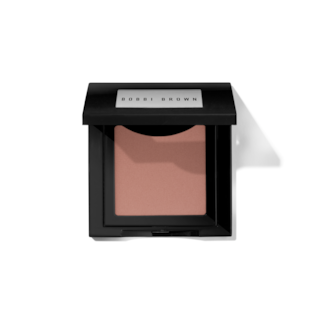
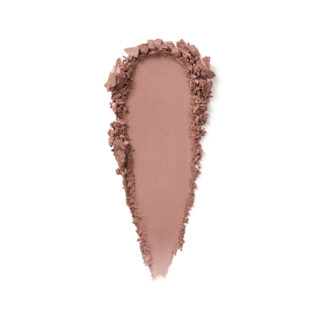
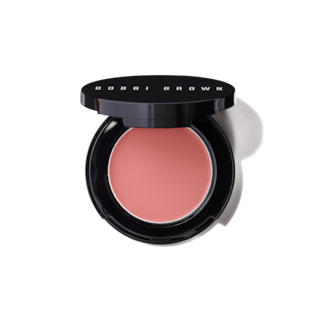
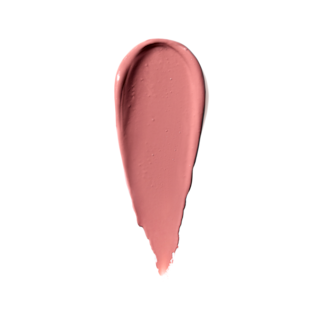
For a fresh glow, layer two blushes. Apply a natural shade on the apples of the cheeks; blend up toward the hairline, then back downward to soften the color. Finish with a brighter shade just on the apples of the cheeks.
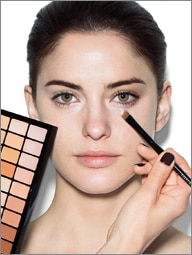
Step 5
Frame Eyes
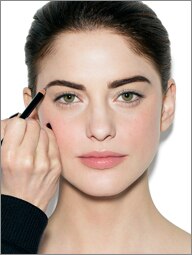
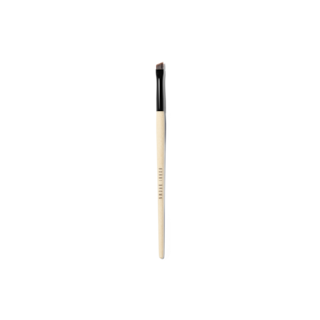
Step 5Frame Eyes
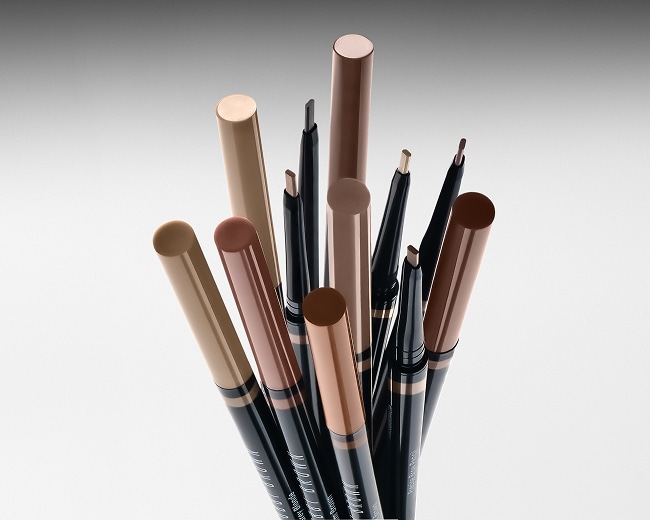
Define brows with shadow that matches your hair color; use the Eye Brow Brush or Eye Definer Brush (if you have sparse brows) to apply shadow.


Step 6
Add Definition

Step 6Add Definition
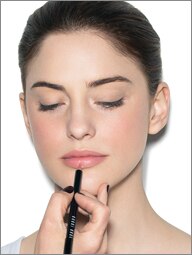
Line the upper and lower lashlines with eyeliner; make sure the line on the upper lashline is visible when your eyes are open.
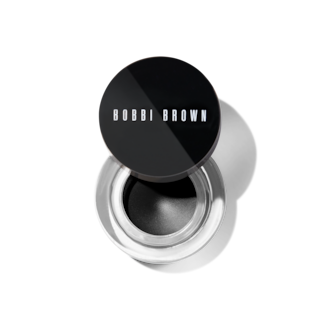

Black Ink
Best Seller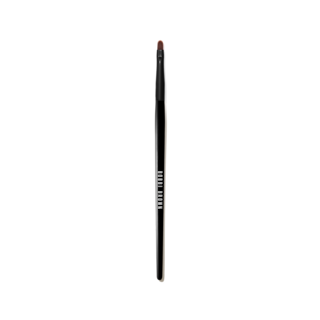
Step 7
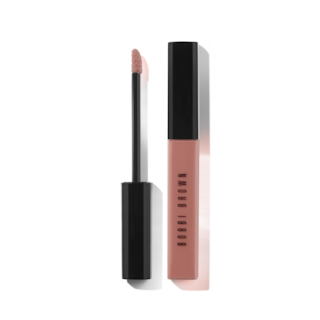
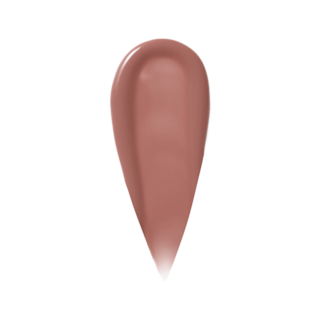
Plump Up
Step 7Plump Up
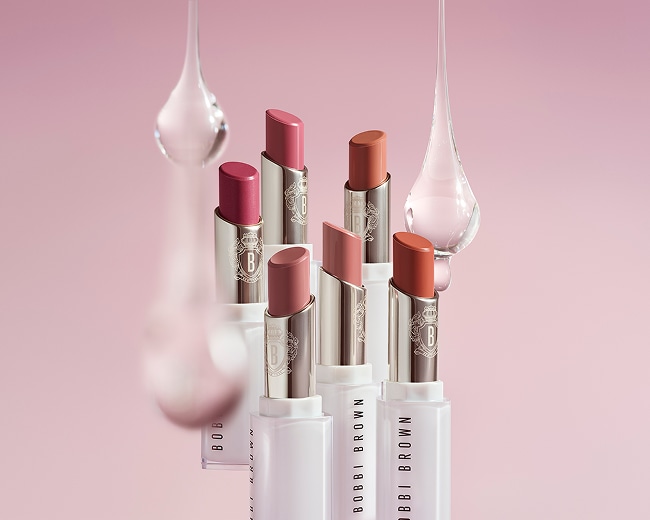
Create the illusion of fuller lips with creamy lipsticks and high-shine glosses in colors that aren’t too dark or too light.
Buff
Step 8
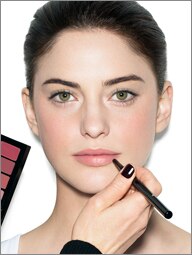
Line
Step 8Line
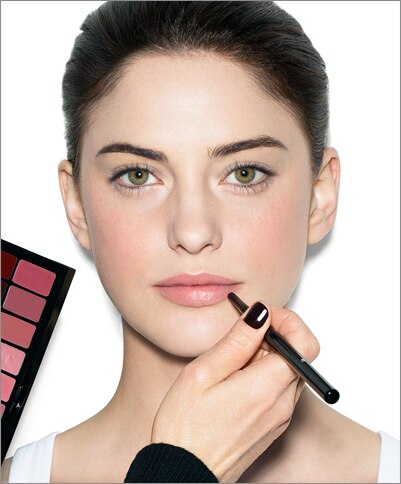
To avoid feathering—and an overly harsh looking line—line your lips with lip pencil after applying color.
The Finished Look: Bright, fresh and defined.
Makeup Face Lift
Before
After
Step 1
Layer Skincare
Step 1Layer Skincare
Layer skincare formulas—try a wet, hydrating cream under a rich, more dense balm—to give skin a plumped up, cushiony look.
Step 2
Brighten
Step 2Brighten
For an instant lift, apply a pink or peach-toned corrector, followed by a yellow-toned concealer under the eyes.
Step 3
Go Creamy
Step 3Go Creamy
Creamy, moisture-rich foundations and tinted moisturizing balms impart vibrancy without settling into creases. (Avoid oil-free and matte foundations because they can accentuate lines and wrinkles.)
Step 4
Glow
Step 4Glow
For a fresh glow, layer two blushes. Apply a natural shade on the apples of the cheeks; blend up toward the hairline, then back downward to soften the color. Finish with a brighter shade just on the apples of the cheeks.
Step 5
Frame Eyes
Step 5Frame Eyes
Define brows with shadow that matches your hair color; use the Eye Brow Brush or Eye Definer Brush (if you have sparse brows) to apply shadow.
Step 6
Add Definition
Step 6Add Definition
Line the upper and lower lashlines with eyeliner; make sure the line on the upper lashline is visible when your eyes are open.
Black Ink
Best SellerStep 7
Plump Up
Step 7Plump Up
Create the illusion of fuller lips with creamy lipsticks and high-shine glosses in colors that aren’t too dark or too light.
Buff
Step 8
Line
Step 8Line
To avoid feathering—and an overly harsh looking line—line your lips with lip pencil after applying color.
The Finished Look: Bright, fresh and defined.